

How To Run Wiring For Backup Camera Underneath A Truck
Car applied science has advanced drastically over the years, which makes driving more convenient. Even featuring autonomous driving, mod vehicles come with plenty of civilities, such as rearview cameras.
Just what if your motorcar didn't come up with one or a new car isn't in the budget? Luckily, installing a backup camera on your vehicle is a lot easier than you may recollect and can be done for under a few hundred dollars.
This is washed by attaching a small camera to the outside of your vehicle, allowing you lot to see what's behind you lot. Here'south how you tin can practice it.
Choosing Your Equipment
With a plethora of devices online and big price differences, finding the right gear may be hard. Rearview cameras are most commonly mounted with a supplied subclass or with the help of your license plate. The footage is commonly displayed on your aftermarket head unit, or with the addition of a screen elsewhere. In the latter scenario, kits will include a separate monitor or a rearview mirror screen to cover your factory mirror.
Despite the many choices on the market, the installation procedure remains relatively the same, and here's how information technology can be done.
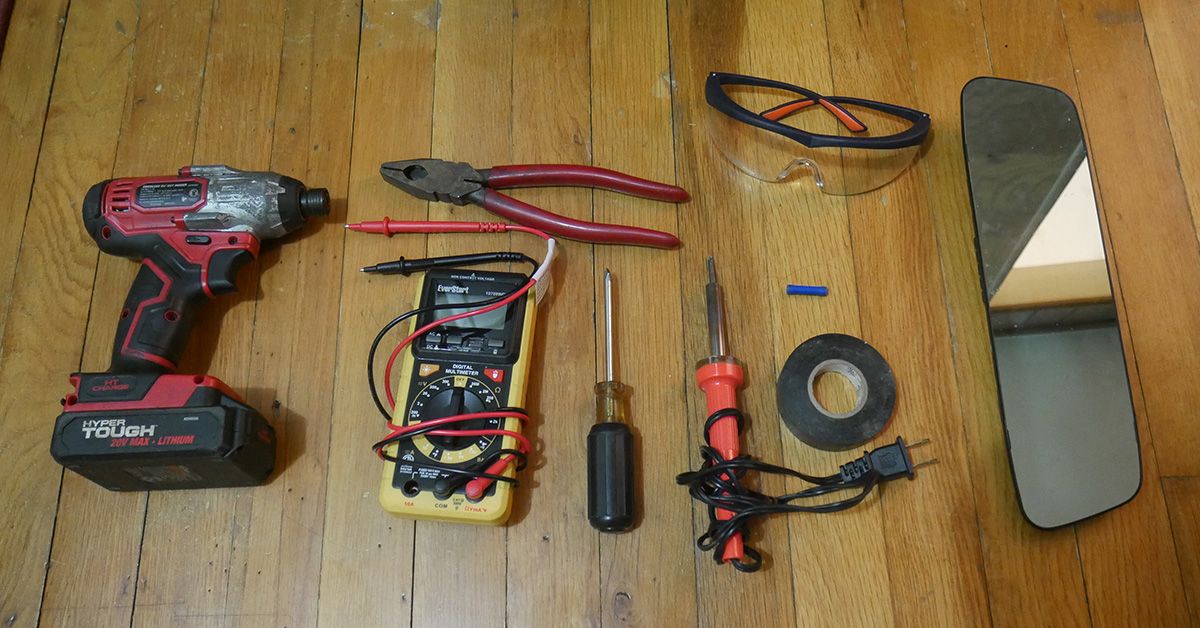
Like most installations, you need to gather the necessary parts and tools you lot volition need. The majority of these tools probably exist in your household already, but here's what you need to exercise the task, all while being safe.
- Safety Gear: Glasses and Gloves
- Wire Strippers
- Wire Cutters
- Multimeter
- Electrical Tape
- Trim Removal Tool
- Philips or Flathead Screwdriver
- Soldering Iron
- Drill with assorted bits
- Posi-tap or other electrical connectors
- Cable Ties
- Socket Set
- Rearview Camera System
These tools will utilize to most vehicles, though non all. European vehicles use security $.25 to prevent outside tampering, so y'all may need Torx or Hex $.25 to gain access.
Proper Preparation Prevents Poor Performance
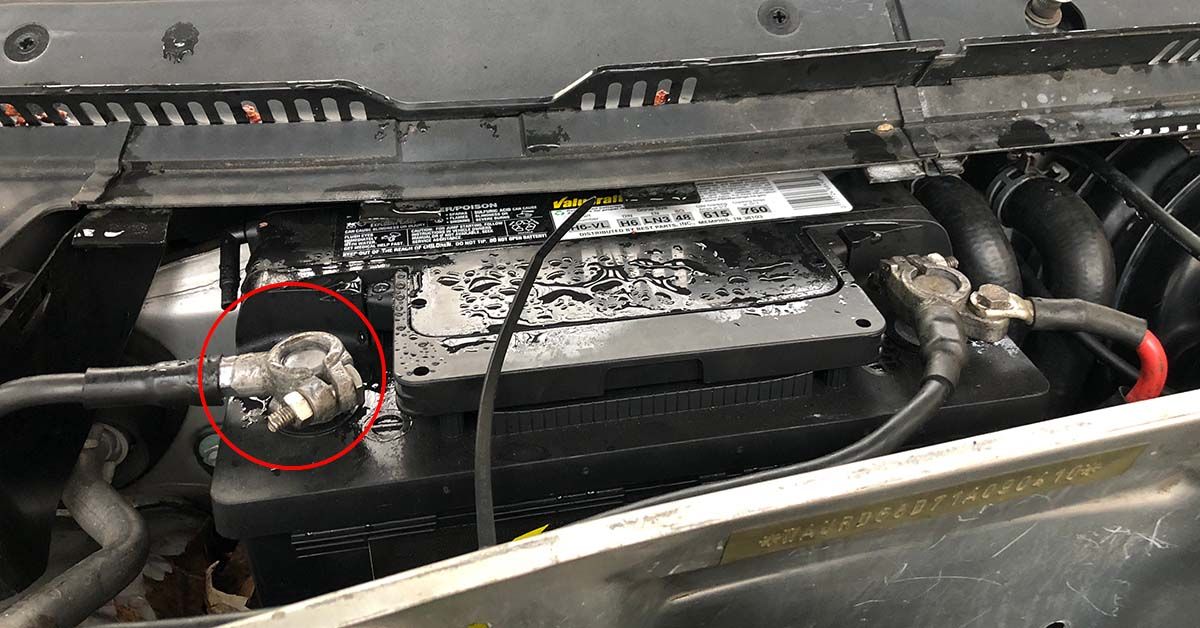
Before working on your vehicle, disconnect the basis cable to the bombardment, and ensure in that location is no power to the car. Failure to do and so may lead to electric shortages or serious injury.
Be sure to article of clothing proper safety gear, as the terminal affair y'all want is to damage the new gear you simply bought, or yourselves.
Mounting the Hardware
Y'all demand to go access to where you are mounting the equipment. Many times, this volition be simple, every bit it can be the dashboard or the rearview mirror. The but instance where you lot won't be mounting new equipment is if y'all already have an aftermarket head unit that supports the feature. You would and so have to go access to the rear portion of the head unit.
In this instance, we'll exist using a rearview mount system. Using the supplied rubberband straps, wrap your new rearview mirror onto the existing ane in your vehicle. Ensure that the mirror has no obstructions, and maintains full functionality.
Side by side, you demand to mount the photographic camera to the vehicle. The easiest way is by using a license plate bracket, as it'south only 2 screws. However, for artful purposes, you want to preserve the OEM look every bit much equally possible, so mount it by the trunk handle. This can be done using double-sided record or by drilling into the trunk.
When yous employ double-sided tape, yous need to make sure both the mating surfaces are make clean, as whatsoever debris can potentially make the photographic camera fall off while driving. Mating surfaces tin can be cleaned with whatsoever rag and isopropyl alcohol.
Lastly, you need to drill into the trunk to route the camera wire within. This step volition be the same for any type of photographic camera mount if you desire to keep a clean look. This step tin can exist tricky, simply you lot simply need to ensure that nothing can be damaged in the process. As long as there are no wires in the mode, y'all're skilful to start drilling. Snake the wire through the hole you just drilled and whatever potential trim to gain access to the wire within the vehicle. Although this step may vary, the concept remains the aforementioned.
Completing the Wiring
You lot demand to locate the fuse panel, or a switched ability terminal, to provide power to the rearview photographic camera. Some vehicles take dedicated posts for this, which make it super convenient, simply all cars have fuse boxes. This stride is of import, equally you probably want to start your motorcar the side by side morning. If done incorrectly, the rearview camera system will continuously drain power from your bombardment overnight.
Fuses like your wipers or radio only receive power when the fundamental is switched "on", making them peachy sources to piggyback off of. A practiced style to examination this is past using a multimeter and checking which fuse terminals receive power when the primal is switched "on".
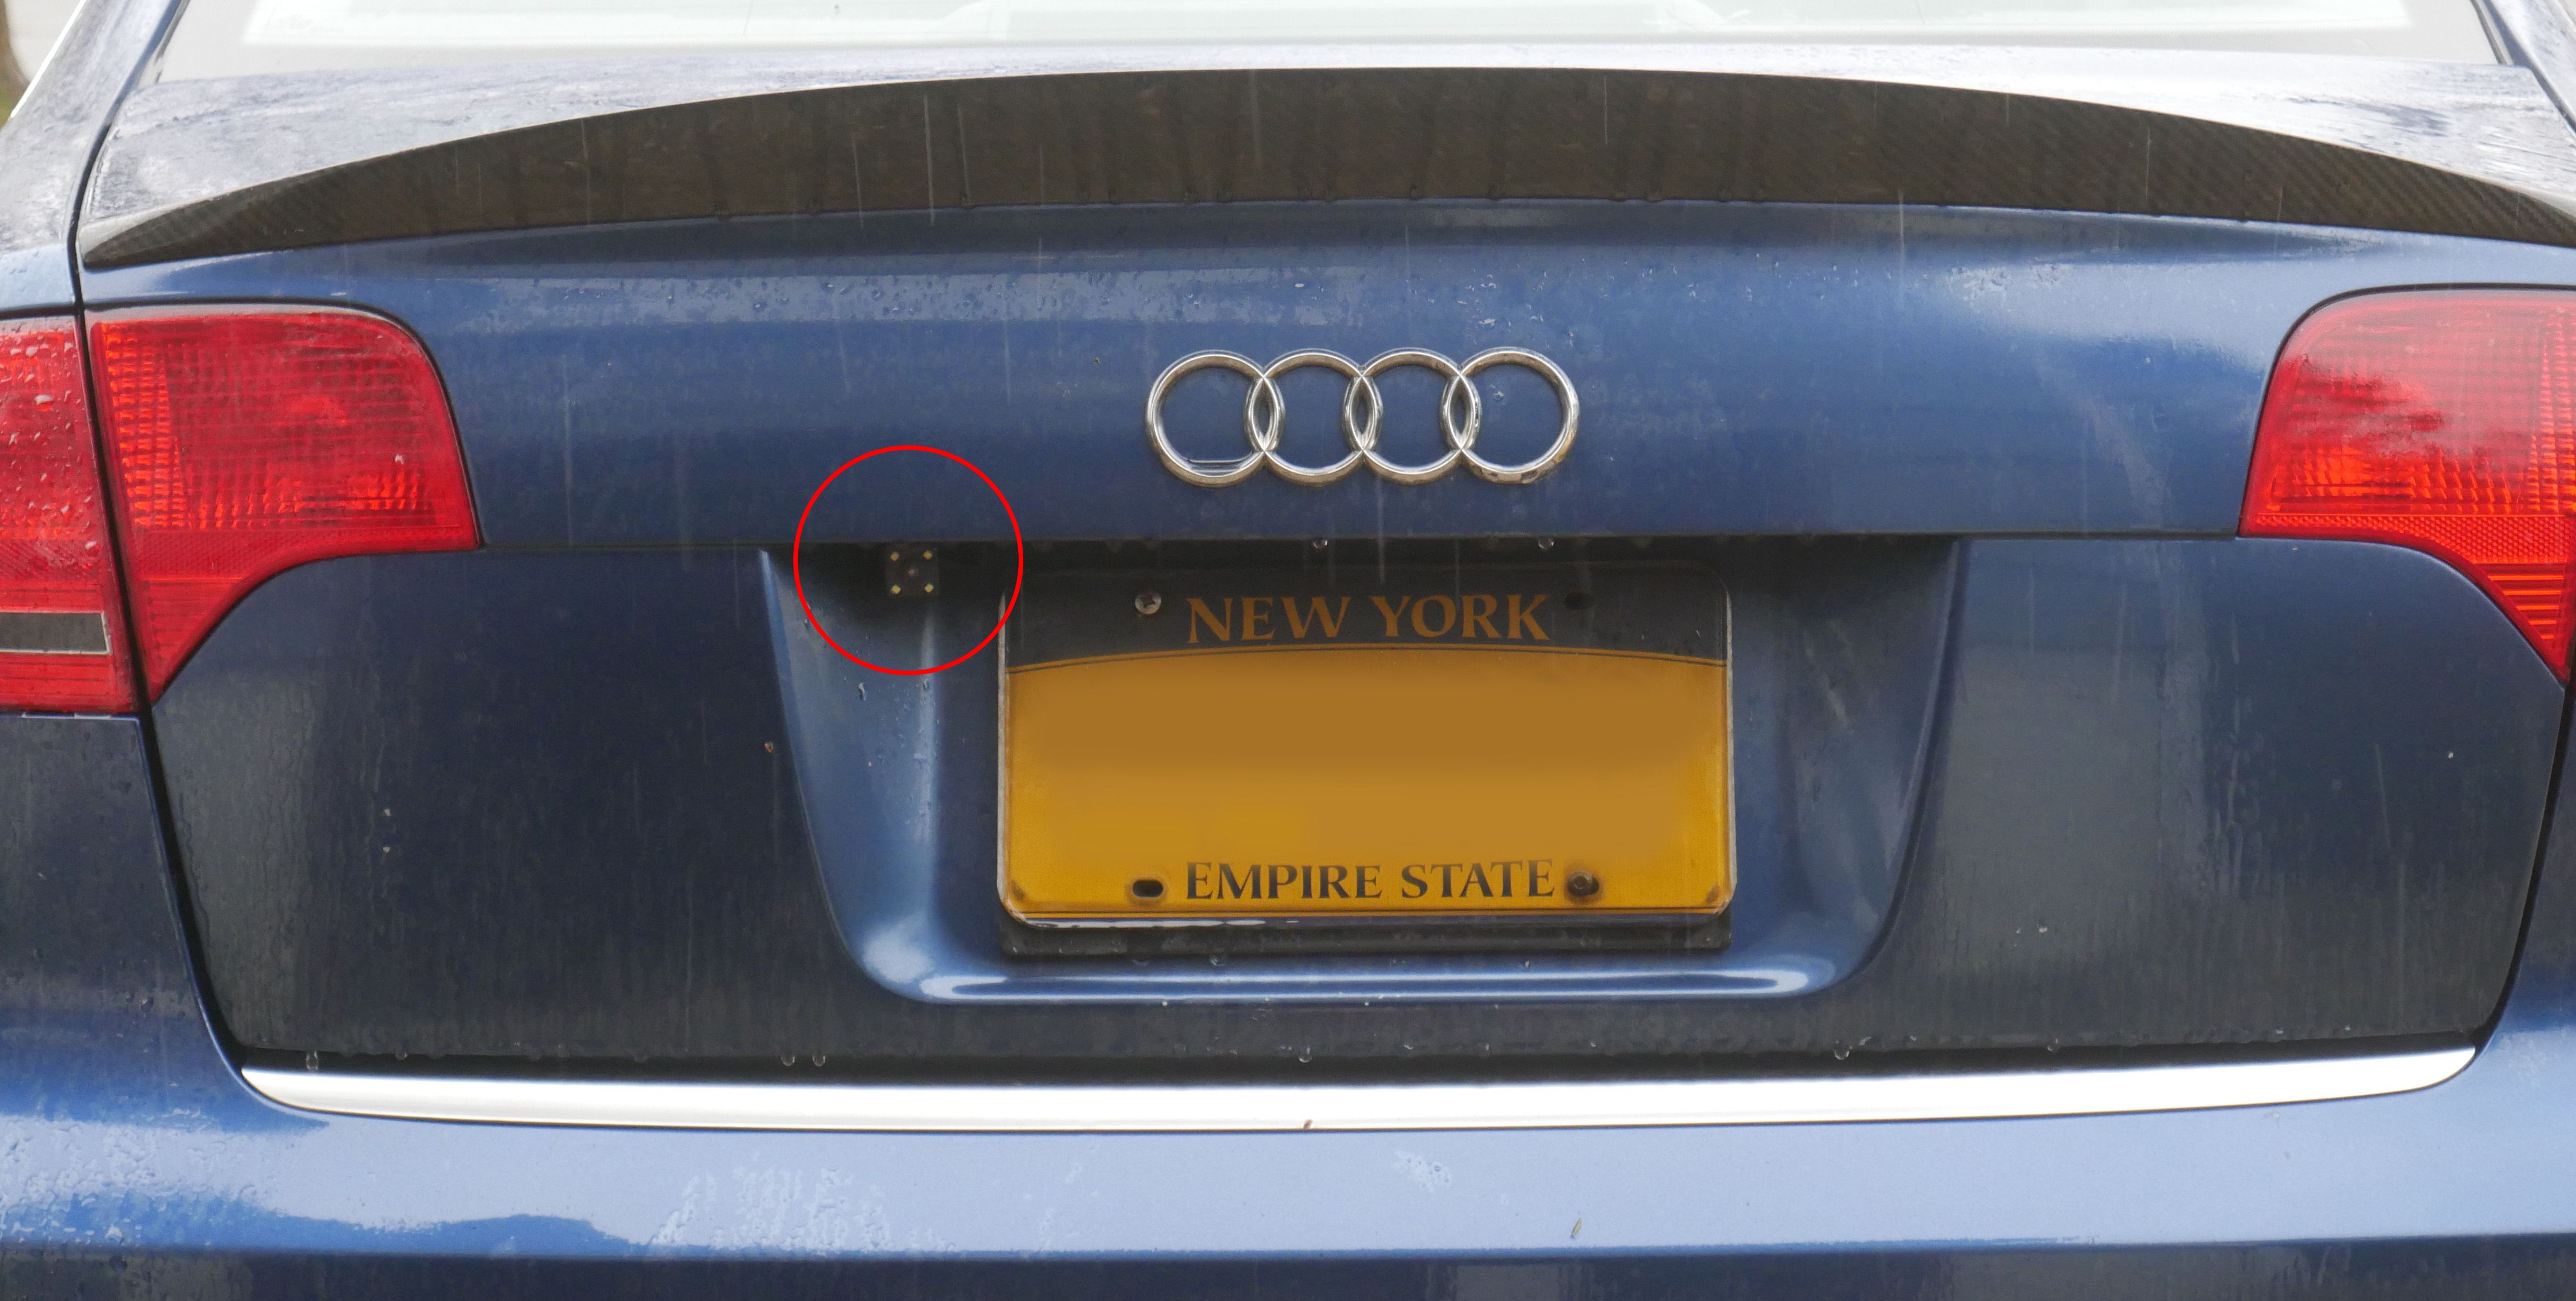
After you verify which fuse has switched power, you lot need to take hold of a fuse tap and insert it into one of the pins of the terminal every bit shown in the image. Like previously, tuck the wires into the necessary trim to maintain a clean expect.
For the rearview camera to work, the camera must know when the machine is in opposite and needs a video signal. This is done past running the supplied wire from the front to the terminate of the car. This step is relatively straightforward.
Next, you lot demand to supply a signal to the rearview camera. This tin can be done by tapping into your reverse lights. You simply disassemble your taillight assembly and locate the wires that run to your reverse light. Grab a friend and take them press the brake pedal. This will transport power to the brake lite, making it easier to identify which wire to tap into.
Using your multimeter, check which wire is being supplied with 12 volts. You demand to add the new point wire into what is already fitted on the car. The easiest method is past using a Posi-tap, or some other electrical connector, to tap the new wire into the existing one. In this case, employ a twist connector to ease the process. An alternative method is past stripping the wire manually and by soldering in the new one.
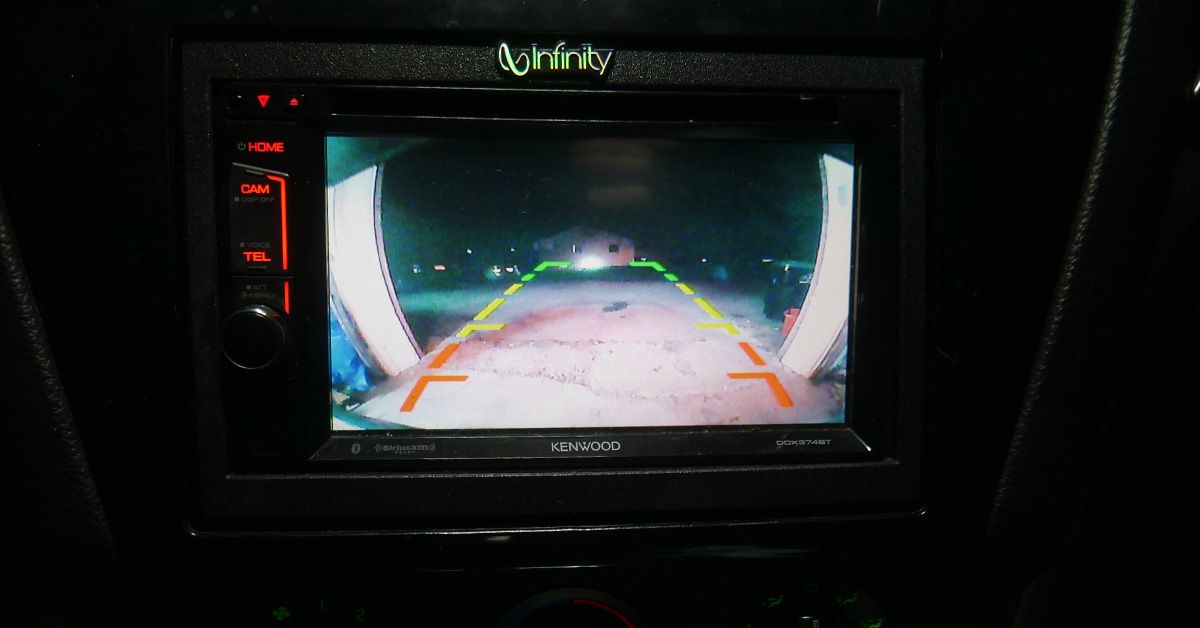
After completing this step, the rearview camera system should be fully operational. Check your work by reconnecting the ground cable to the battery post to requite it power. Then, put your car in reverse and verify if the camera is working. If you see backside your vehicle, you're ready to reassemble the motorcar and brand it await clean once again.
In the effect it doesn't work, double-check your work and ensure all wires are going to the correct places. Information technology'due south much easier fixing the upshot before the cables are tucked behind trim pieces. Reassure that the added cablevision doesn't interfere with anything.
Finishing Touches
After verifying that the new system works, you lot can reassemble the car to brand information technology look original again. Since you took off some trim pieces, now is the time to reinstall them.
Typically, they will go into place without any issues, though they can exist a pain since there is another wire running nether it. Constrict in the new wires behind the existing wires running inside, and use nil ties to continue things in identify. After the trim is reinstalled, y'all are set to drive!
Nigh The Writer

Source: https://www.makeuseof.com/how-to-install-a-backup-camera-to-your-vehicle/
Posted by: herreratarin1976.blogspot.com
0 Response to "How To Run Wiring For Backup Camera Underneath A Truck"
Post a Comment